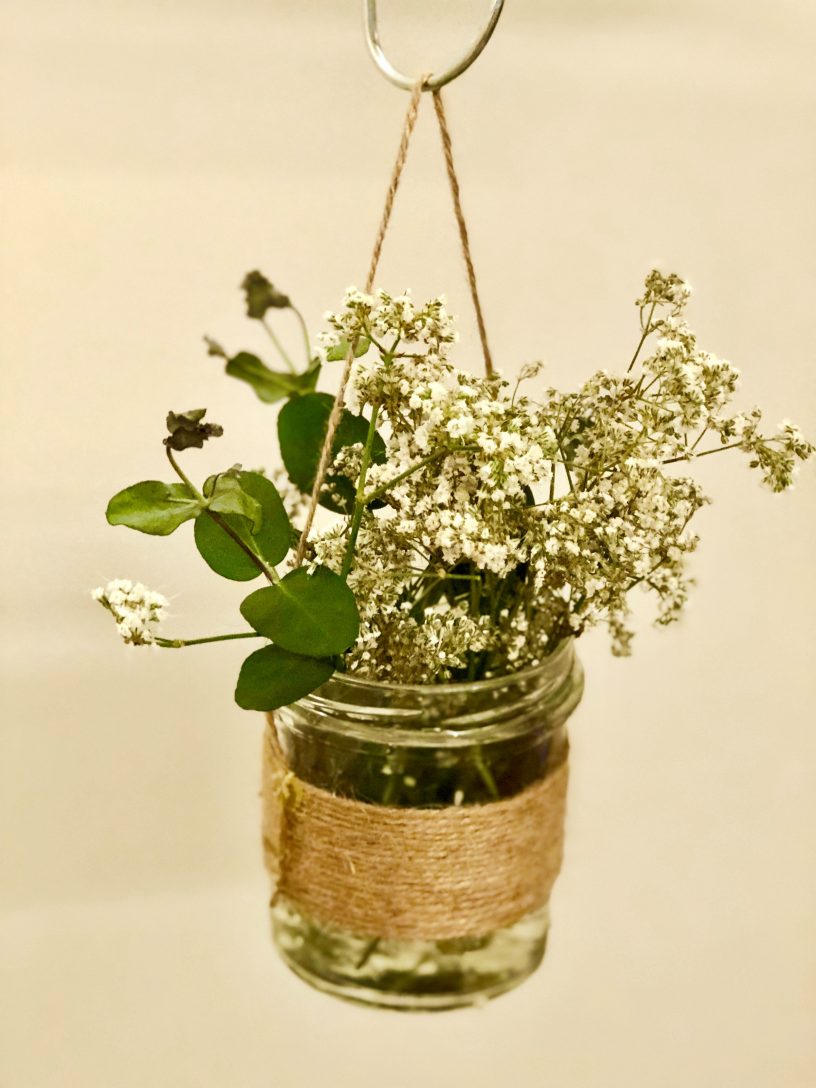


I have always loved the idea of creating my own decorations for weddings, not only is it a smart way to save money, but it also adds a unique and creative aspect to your big day and creates another use for all the items in your home. A great example is recycling jars to make beautiful hanging flower lanterns with twine.
We attempted to make these for our wedding as we had about 10 leftover jars that I had been keeping for an opportunity to reuse. Read on to find out how you can make your own beautiful hanging flower lanterns for your wedding day!
What you’ll need
- Jars
- Glue gun
- Strong twine
- Flowers of choice
The items required are jars (naturally). You can start collecting these way before your wedding so you don’t need to buy any. It’s completely up to you how many you want, whether that be one hanging indoors or 20 for a tree outside.
Next I’d recommend a glue gun to ensure the glued areas stay strong and sturdy for the entirety of your big day. Good twine is also essential for any hanging decorations to avoid any casualties.
Your flower of choice are the last items. I personally recommend gypsophila (baby’s breath) or lavender as they’re both smaller flowers that look really beautiful in the jar, plus they’re light and you don’t want it too heavy for hanging. When picking a flower remember it will have to fit underneath the twine loop.
Creating your decoration
Step 1
The first step is to invite a pal around, open the prosecco and get your comfy clothes you don’t mind getting glue on and get excited about a day of arts and crafts 😂.
Start by wrapping the twine around the jar, work from the bottom up and wrap very tightly to prevent it from separating—we covered different amounts of the jar with twine for a more rustic feel, again it’s up to you how much of your jar you want to cover in twine.

Step 2
Glue the twine to the jar both where it started and where the twine ended. It’s important there’s enough glue and the glue is strong enough to hold the jar when it’s hanging.

Step 3
Loop the twine over to the other side of the jar once completed, making sure you leave enough twine to fit over the flowers and glue it down. Again it’s very important you glue it evenly and strong enough to hold. Glue all the way down the twine to make sure it’s a strong hold. Also make sure the twine is looped onto the opposite side evenly, if it’s uneven your jar will tilt backwards or forwards which you don’t want.
Step 4
Now the hard parts done it’s time for the fun to start—adding the flowers! Arrange the flowers whichever way you want. We did a foliage and gypsophila mix and lavender but I think for my actual wedding I’ll pick just one style and stick to that rather than a mix of two.

Step 5
Once you’ve added the flowers hang and enjoy the prettiness!


Leave a Reply